
How To Upgrade RAM & SSD | Insane 4 Gbps Disk Speed With Crucial Momentum Cache
In this article, we will discuss how we upgraded the Mini PC that we bought for under 10,000 Rupees. This article is also a general advice to upgrade many different types of computers.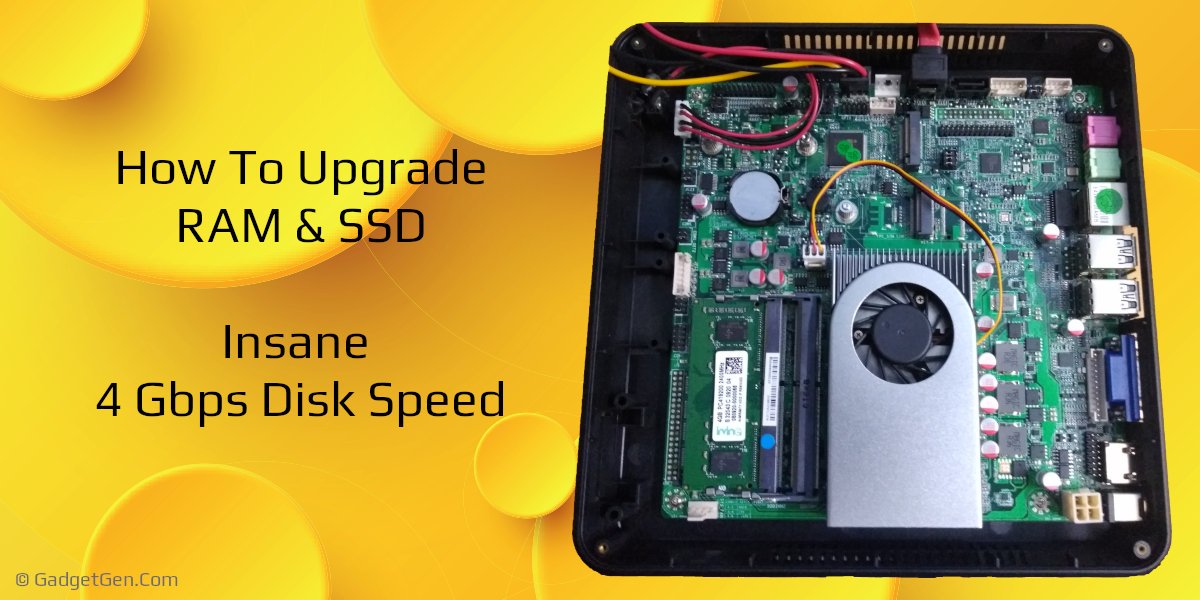
We will add 16GB of RAM and a higher capacity SSD to the Mini PC. We will also install an excellent piece of software for the SSD that will speed up disk throughput to beyond the ordinary numbers. This in turn will justify our choice of the RAM capacity and the brand of SSD. Even if you are not planning to buy the Mini PC, this video should help you with making the right choice when upgrading your SSD. Also, we will let you know a trick to speed up your current SSD, probably of any brand. Let's get into it now.
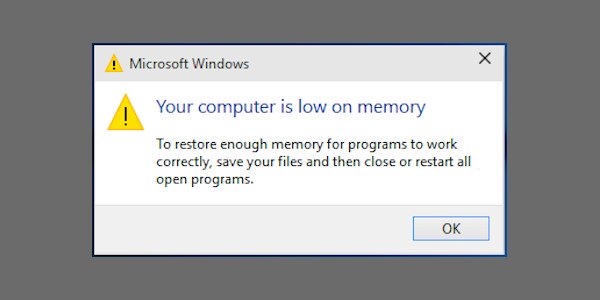
We reviewed the low cost Mini computer in another article. We found it to be pretty quick. We saw that it could play three 1080p tracks simultaneously. That makes it a decent performer for multi-track video editing. But, when we tried to render the output video, the computer was consistently complaining about low RAM. While we were able to hit the ignore button and render the video, we were wondering if it could be faster with more RAM and that's why this upgrade.

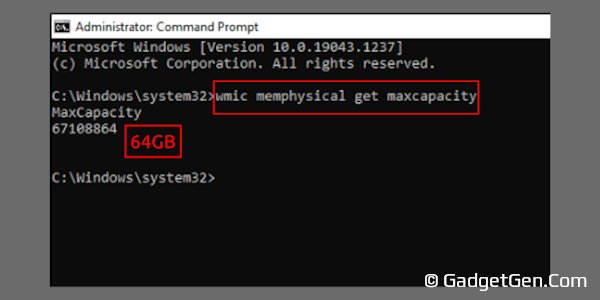
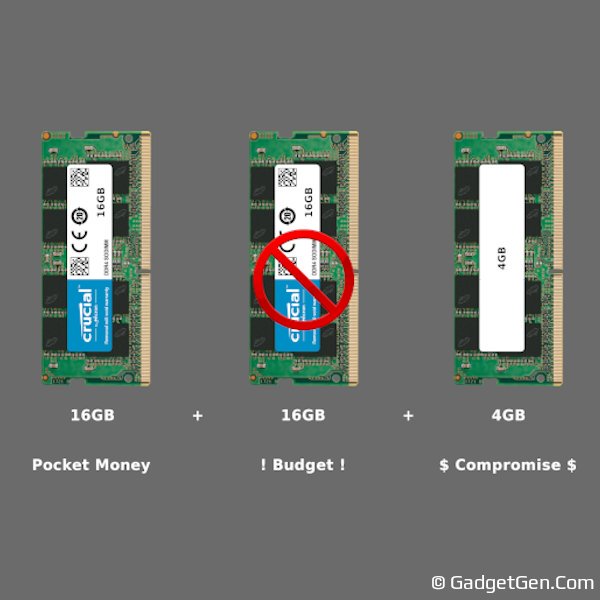
Evaluation is always the first step in the upgrade process. We want to get it right so that there is enough headroom for high-end applications, the scope for further upgradation is left open and the money for upgradation is well spent. As with RAM, using a command, we found that the Mini PC's motherboard supports up to 64GB of RAM. But since the processor supports only 32GB and the fact that the processor is soldered onto the motherboard, the maximum we can go up to is 32GB of RAM. Two 16GB RAMs is the ideal upgrade option.
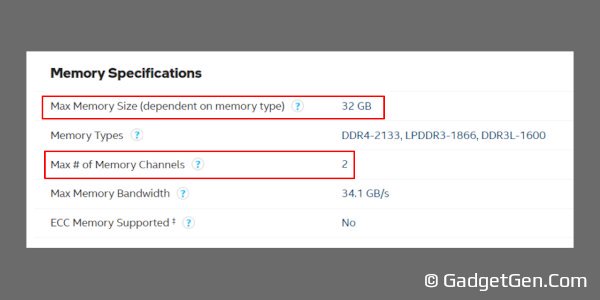
The processor has dual-channel memory feature and using 2 RAMs instead of 1 will result in slightly higher memory bandwidth. We, though, will add only one 16GB for now to save the costs and leave open the option of adding another 16GB in future when applications demand more.
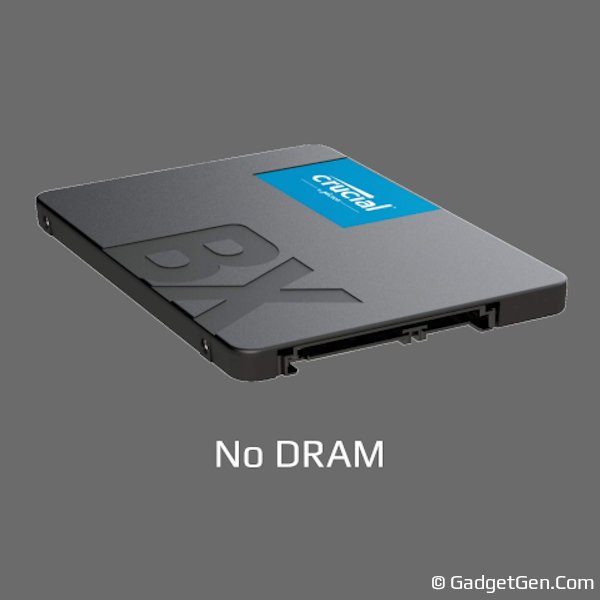
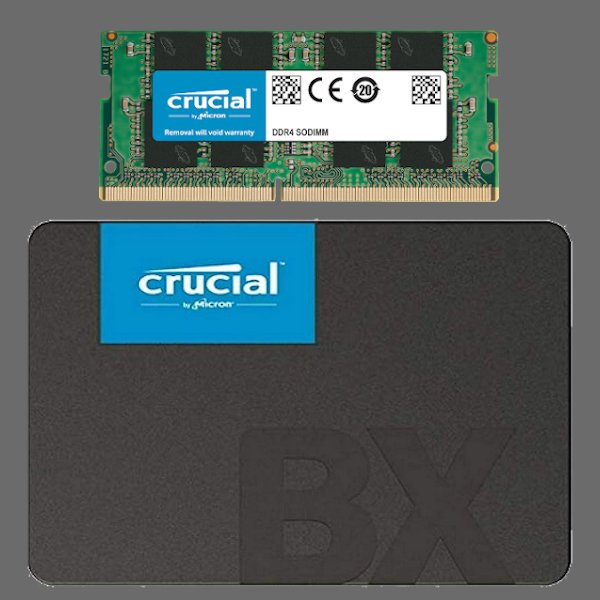
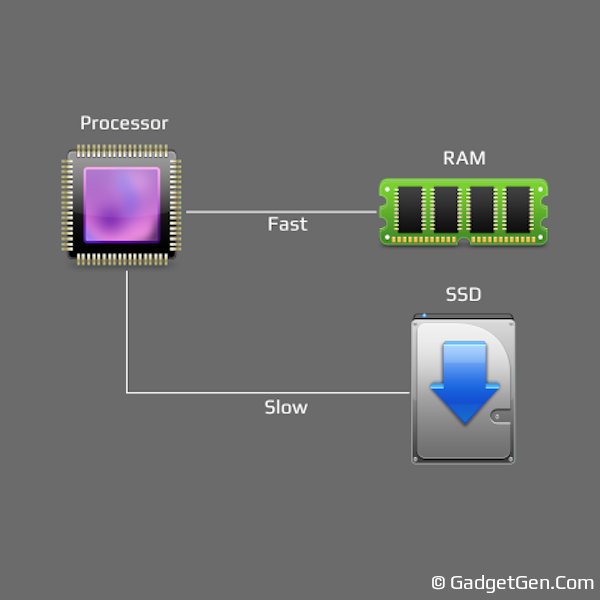
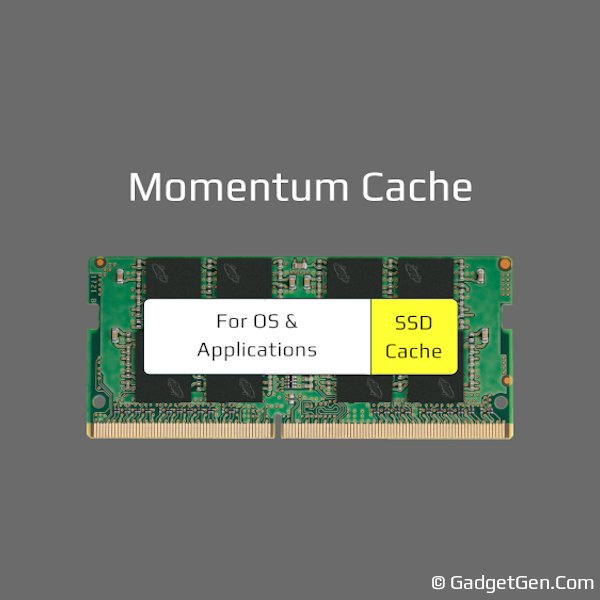
As with the SSD, we went with a 240GB Crucial budget series SSD. Hardware wise, there is nothing special with the SSD, it does not have any onboard DRAM either. But, what makes it special is the software that comes along with it. The application is called Momentum Cache and it allots a portion of the RAM to speed up the SSD, particularly the write speed, and the smaller 4K read and write speeds which are so very important for ultra fast browsing experience. With this, practically the processor is transacting a majority of the instantaneous data with the RAM instead of the SSD, and RAM as we know is many times quicker than even the fastest SSDs. Another added benefit is that it prolongs the life of the SSD.
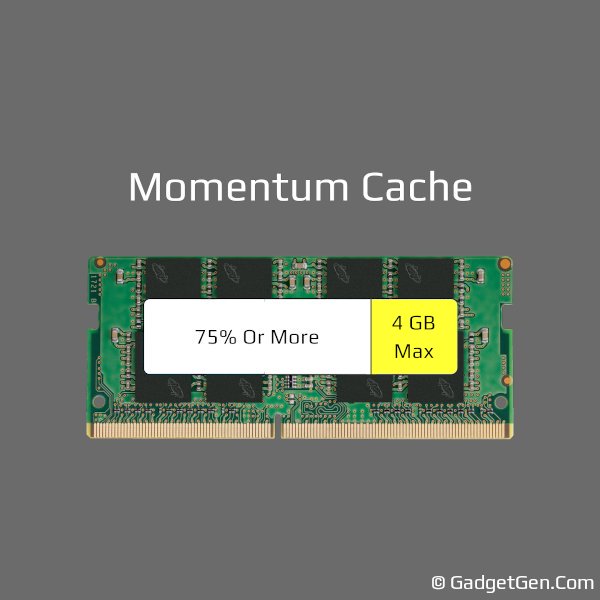
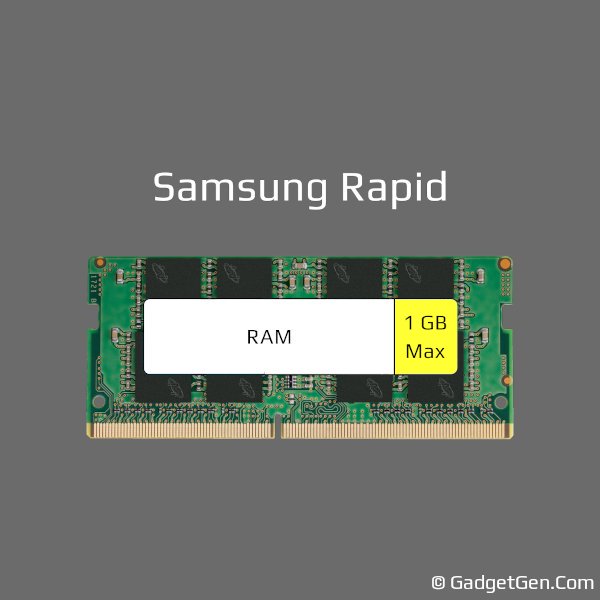
Momentum cache, according to the specifications will allot a maximum of up to 25% of available RAM, also, it is limited to a maximum of 4GB. So, it is clear why we chose 16GB RAM as an upgrade for our computer. 25% of 16GB is 4GB and we want Momentum to work in maximum capacity. Samsung also has a similar software for a few of its SSD's and is called Samsung Rapid. But, the allotted RAM is restricted to a maximum of 1GB, which is quite a bit less than Momentum's 4GB. So, our choice of SSD brand was clear and well justified. Besides, we got our SSD for 2000 rupees which was pretty much a bargain. We don't get Samsung SSDs for anywhere close to that price.
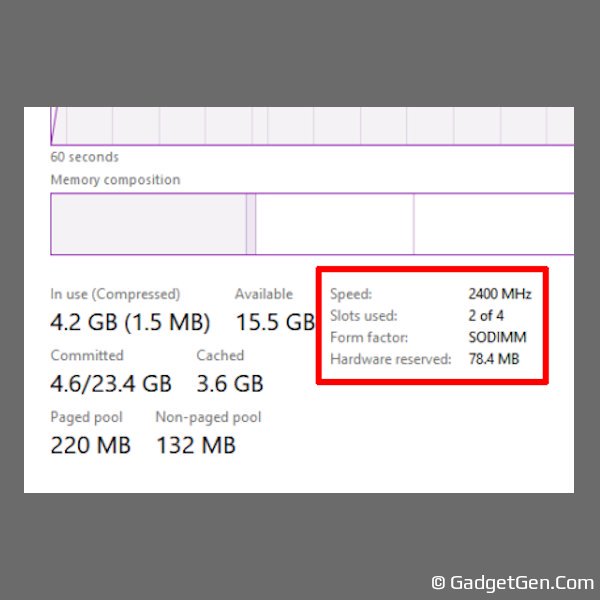
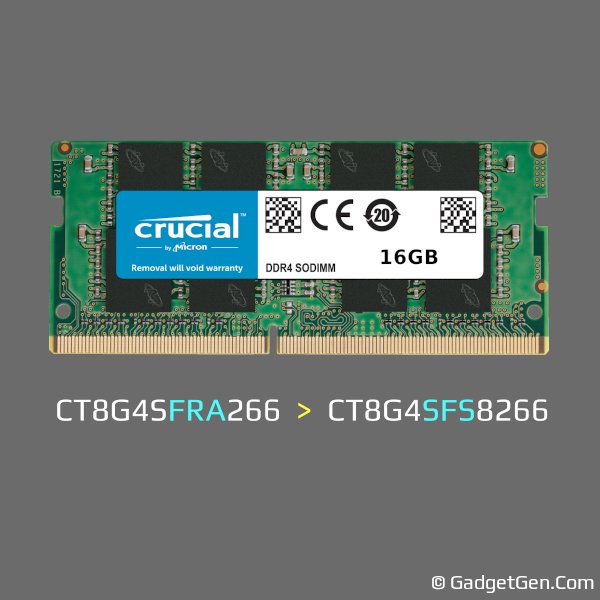
Adding the new RAM is a fairly straightforward process. We opened the 4 screws at the bottom of our Mini PC, and located the empty DIMM. We aligned the notch on the RAM to the one on the slot and gently pushed it down to lock it in place. It is as simple as that. The original 4GB RAM that came along with the Mini PC was left there as it is, now that we have a total of 20GB RAM. The 4GB of RAM was clocked at 2400 MegaHertz, although the Crucial memory is 2666 Mega Hertz, it will clock down to 2400 MegaHertz to match the other RAM, besides, our processor supports a maximum of 2400 MegaHertz only. One important thing about Crucial RAM is that it is available in two different variants, the FRA variant and the SFS variant. It is recommended to choose the FRA variant model since it has higher memory bandwidth. SFS sells for 50 rupees less but that's a negligible price difference.
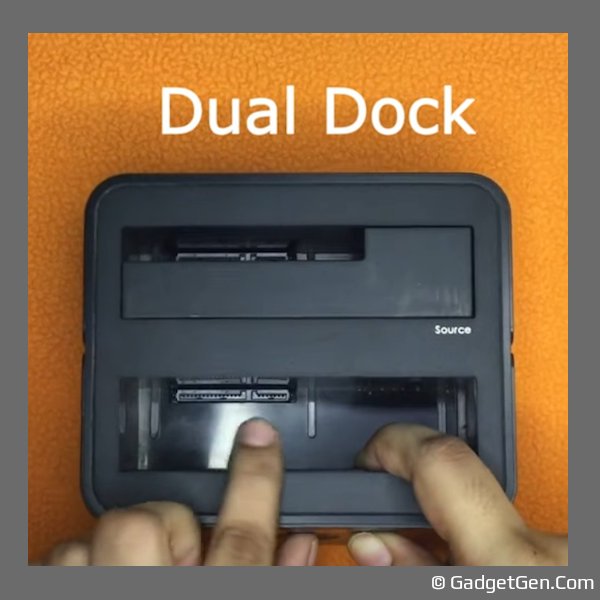
Installing the SSD would require some work upfront, we need to clone the existing SSD to the new one. We will use our trusted dual HDD dock to do this job. Just put the Windows SSD in the source slot and the new SSD in the target slot. Hit the copy button and cloning will be completed in a few minutes, it is just 60GB. If a dock is unavailable, you can use Acronis true image or Clonezilla to do the same. It's not at all hard and fairly self explanatory.
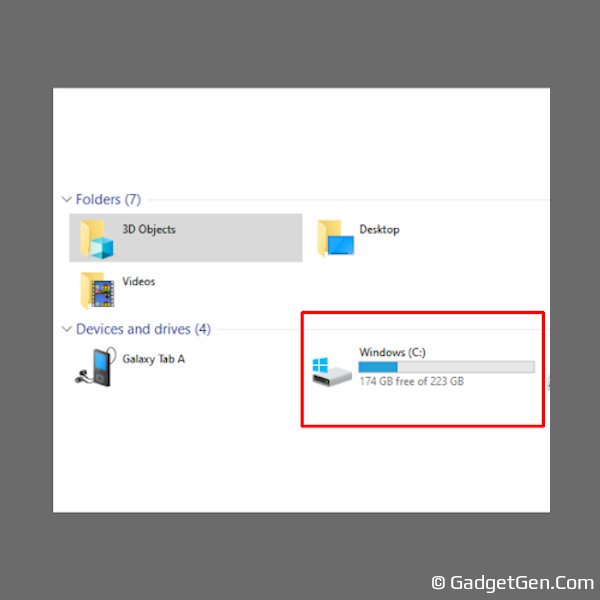
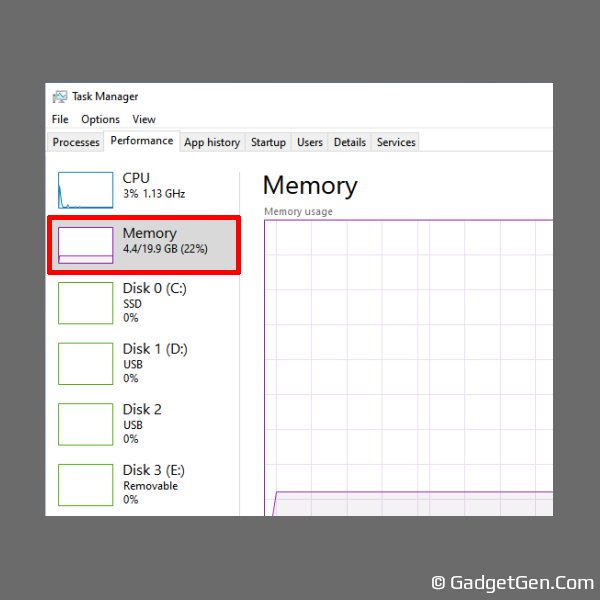
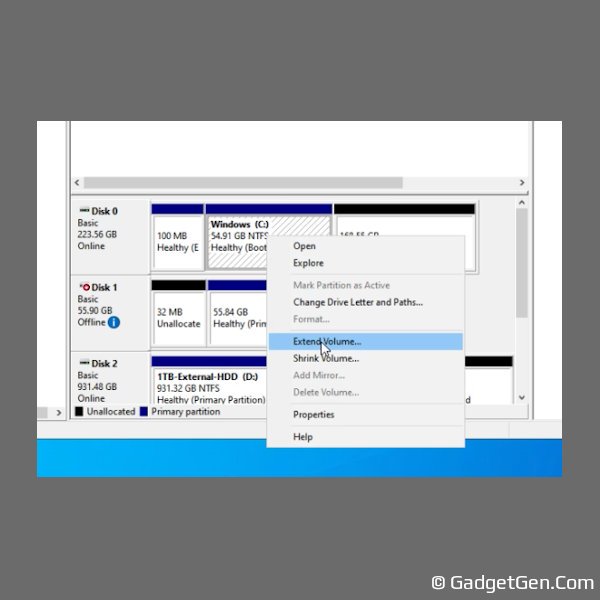
Let's drop in the new SSD and boot our machine. Opening up the task manager will show more RAM, 20GB in our case. We can see the indication that both the DIMMs are filled as well. Move over to the SSD and we see that it shows only 60GB instead of 240GB that we installed, the reason being that we cloned a 60GB drive. Let's open up Windows disk management and resize the drive to cover the entire 240GB. Great, that's all we need to do to initialize.
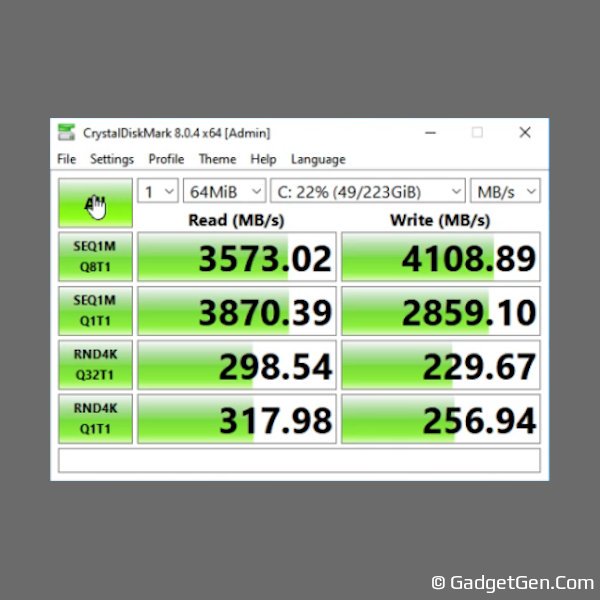
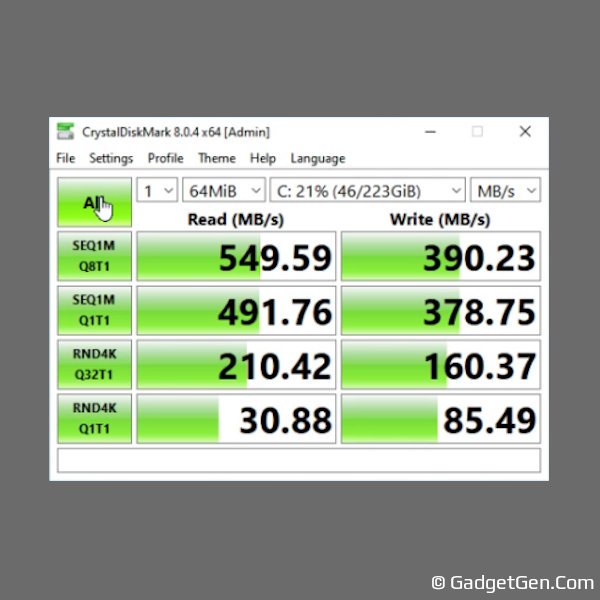
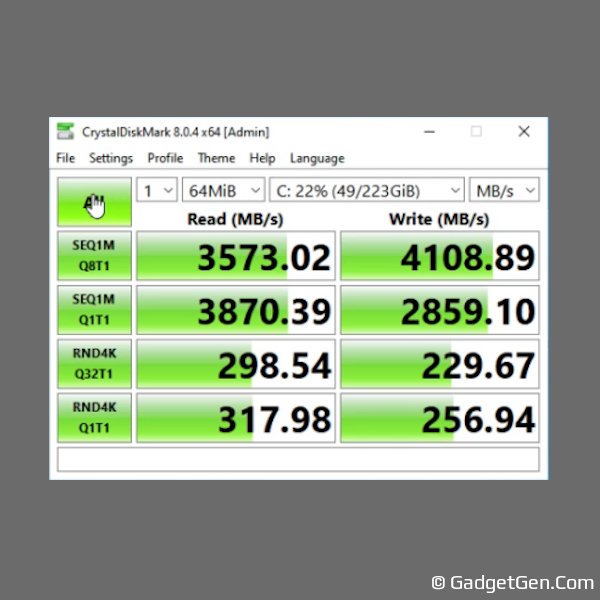
Lets benchmark the SSD with Crystal disk mark. The figures are good alright, but, did we forget that we wanted it not just to be good, but actually spectacular? Lets welcome Momentum, we downloaded Crucial Storage Executive tool, installed it and turned on the Momentum Cache feature. Now, let's test the disk speed again, Bingo, that is bonkers quick. Quicker than even the M.2 NVMe SSDs. The 4K performance is even better. Now that's money well spent for a worthy upgrade.
Couple of important things that we wanted to tell you before we conclude this article, Momentum Cache works with the operating system partition only. So, keeping everything as a single "C Drive" is beneficial. Also, it works with Windows only. Lastly, here's a useful terrific hack. If we install and enable Momentum on a Crucial SSD, clone the drive to another SSD of a different brand, Momentum Cache will continue to work fine. Now, that's a useful tip. Use it. If you have any questions, let us know in the comments.
We mentioned these components in the article. In case you want to see more details or buy them, the links are below.
Crucial SATA SSD : https://amzn.to/3az0APU
Crucial M.2 NVMe SSD : https://amzn.to/3lC8iiO
Crucial 8GB DDR4 RAM : https://amzn.to/30mRqEs
Crucial 16GB DDR4 RAM : https://amzn.to/3BIq6hS
----------
Disclosure: Product links may generate affiliate revenue for us. The pricing remains the same at your end though.
Authors | Arjun Vishnu

We made GadgetGen.com to review gadgets and explain the tech inside them. You can ask us questions on WhatsApp or Twitter.
I am Vishnu, I like Linux, single-board computers, and cloud computing. I create the web/video content, and I also write for popular websites.
My younger brother Arjun handles image and video editing. We also run a YouTube Channel that's focused on technology.
Comments powered by CComment